Ayurveda teaches ghee is a medicinal food that is excellent for good health when used in cooking or added to foods. Ghee is considered to be one of the most sattvic foods available and also healing to all doshas.
Sattva is one of the three gunas or qualities in Ayurveda and in Sanskrit it means “‘light’, ‘goodness’ and/or ‘purity.’ The quality of sattva is said to be life-giving to the body, mind and spirit.” “It should not increase disease and must be pure and natural.” [1]
When I think of ghee, I can’t help but smile. Ghee has been one of the medicinal foods that I have effortlessly incorporated into our family diet that is enjoyed by every member of my family. For this reason, I like to explore and learn about ghee. I make homemade ghee on a regular basis, but I was curious on how to make it the traditional Ayurvedic method.
When making Ayurvedic ghee traditionally, there are a few things to consider.
- Traditionally in Ayurveda, ghee is made from cultured butter. Since Ayurveda also considers the energetic effects, ghee is made in a clean and peaceful environment, often with sacred music or chanting and the person making ghee is feeling happy and relaxed. Medicinal ghee was also made during the waxing moon: “In the Vedic culture of ancient India, ghee was made on the full or waxing phase of the moon. This period of the moon cycle is known as the shukla paksha or the white part of the moon, and is considered auspicious. It is said the moon is considered to rule or control soma; the juice or essence of plants, and of life itself. In the Vedas, milk is said to be the essence of grass, and ghee is said to be the essence of milk. Therefore, the waxing moon and full moon represents the increase of this essential quality.” [2]
- Cow’s in India are descendants of earlier desi Indian cows or the African cows. These cows produce a different type of milk protein called A2 beta-casein, which is a similar protein found in human breast milk. Unlike modern hybridized cows such as Holstein, Friesian and Ayrshire breeds, which make A1 beta-casein milk protein that have been linked to digestive problems such as leaky gut, the desi Indian cows A2 milk is easily digested and for thousands of years has been used in Ayurvedic practice of health and wellness. [3, 4, 5]
- Use organic A2 milk, which you can find at most of your local health food stores and other grocery stores. In Columbus OH, we have a local dairy farm, Snowville Creamery, that produces A2 milk dairy products.
What is the difference?
Cultured ghee has a richer taste and is a deep golden yellow. Some claim that cultured ghee is best for people who have a lactose intolerance. During the process of making regular ghee, lactose is removed with the solids, however unlike regular butter, cultured butter does not contain lactose. During the fermentation process when making cultured cream, lactose is converted to lactic acid. This makes the cultured ghee more digestible for many people.
Making cultured ghee takes a few more extra steps but the results are worth the extra effort. You can also purchase cultured butter, making this process easier, but I encourage you to try making cultured ghee the traditional method at least once to gain a deeper appreciation for this sattvic medicinal food.
Cultured Ghee Recipe
Ingredients
1 half gallon of organic heavy whipping cream (NOT ultra-pasteurized) (Snowville Creamery Heavy Whipping Cream)
1 cup plain, full-fat organic yogurt (Snowville Creamery 6% full fat yogurt)
Ice water
Equipments
Wisk or blender, cotton kitchen towel and rubber bands, food processor OR hand mixer set with the wire beaters, 2 metal sieves, 2 mixing glass or ceramic bowls, rubber scraper, heavy 6 quart pan, enameled coated cast iron pot is best, wooden cooking spoon. dry cheesecloth, glass or ceramic bowls, mason jars for storage, small glass or metal container with lid
Culturing the cream
- Mix cream and yogurt in a large bowl. You can also mix cream and yogurt in a blender on the lowest speed, which is what I did.
- Transfer cream/yogurt mixture into a glass containers or glass/ceramic bowls.
- Loosely cover container with cheese cloth or kitchen towel. Secure it with a rubber band.
- Let sit at room temperature until thickened and tastes tangy, 12- 36 hours. How long this takes will depend on the temperature of your kitchen.
- Chill cultured cream to stop fermentation process, at least 2 hours.
Churning cultured cream into cultured butter
Food Processor Method:
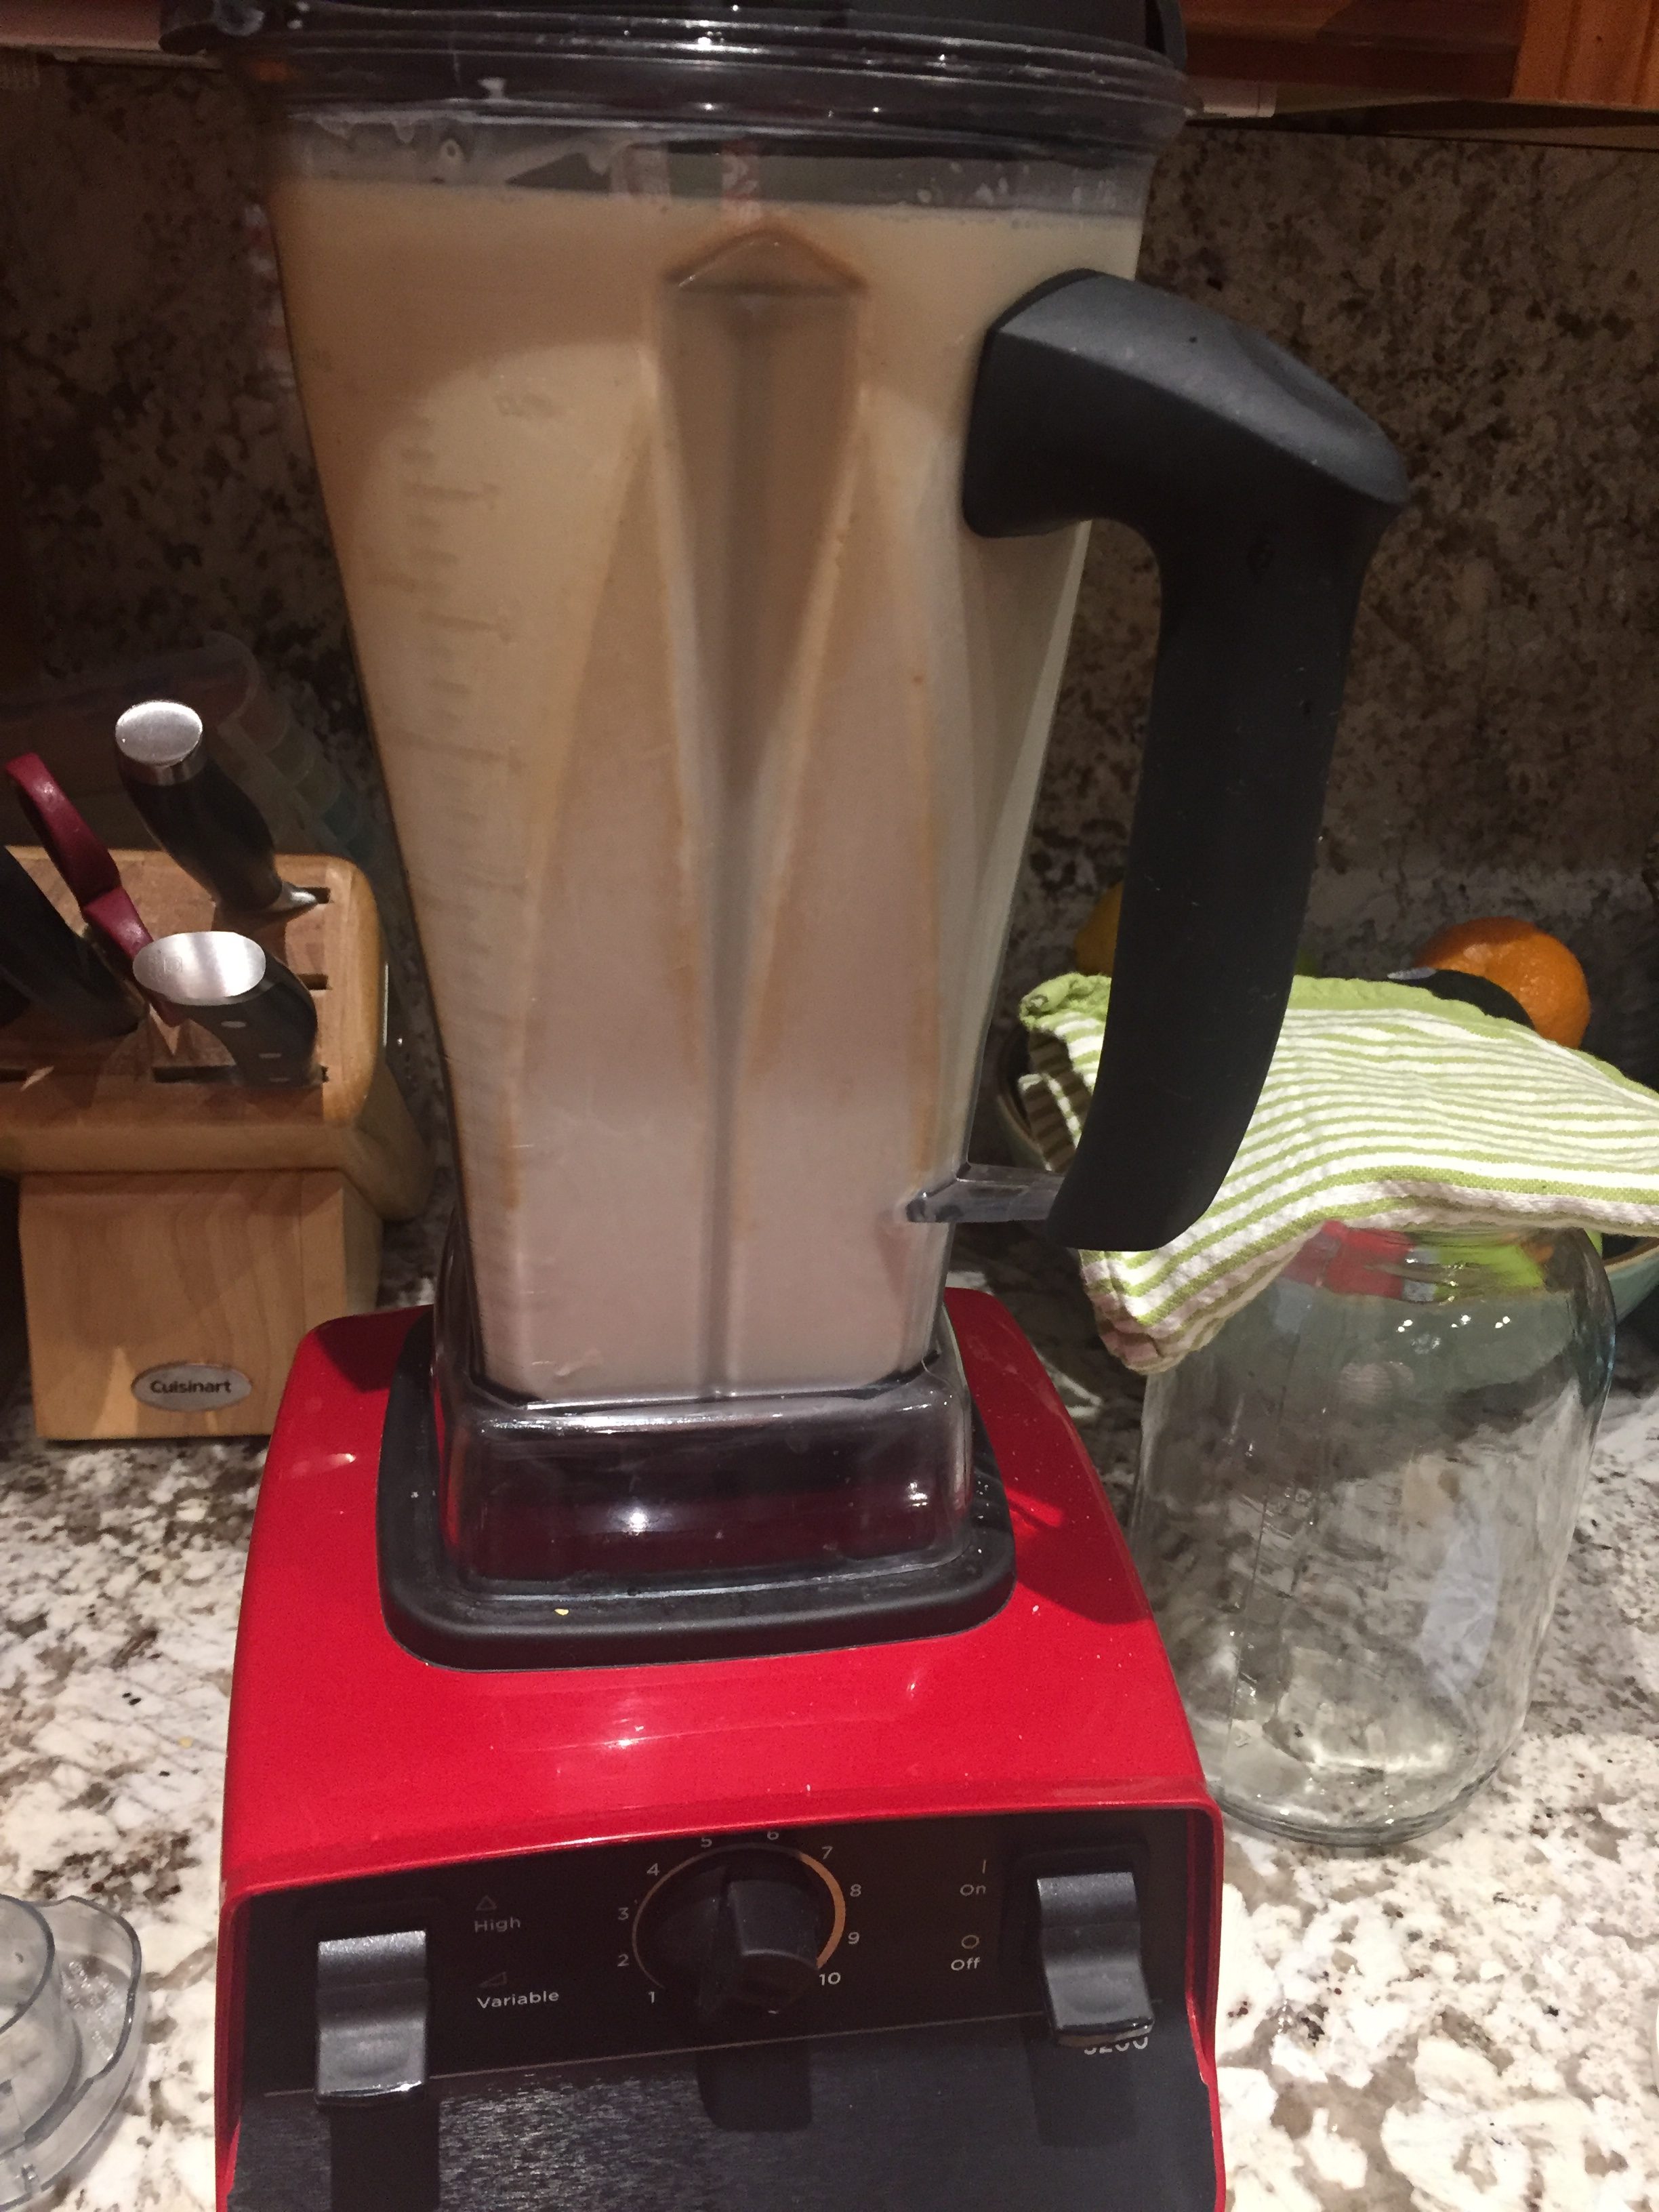
- Fill the food processor bowl halfway full.
- Turn the food processor on and let it whir on moderate speed until the butter solids start to separate from the liquid, about 4 to 7 minutes. You will notice butter solids forming in clumps after the cream passes the whipped cream stage.
- Go to Step 4 in the Hand Blender Method and continue.
Hand Blender Method:
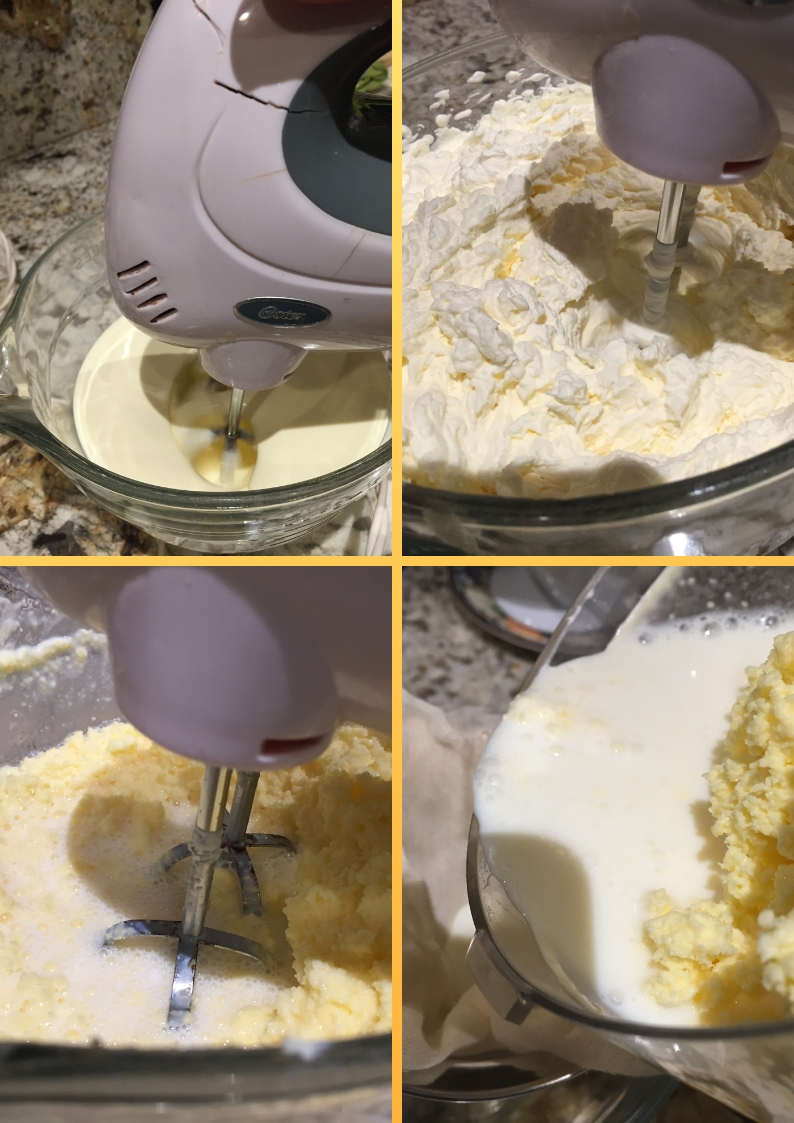
- Place cultured cream in a large bowl, filling the bowl only halfway.
- Using hand blender on high speed, mix the cultured cream into thick whipped cream that will gradually loosen up and become sloshy.
- Turn down speed to lower setting as it keeps churning and looks more and more buttery. The cultured cream will break and now you have produced fresh cultured butter and buttermilk.
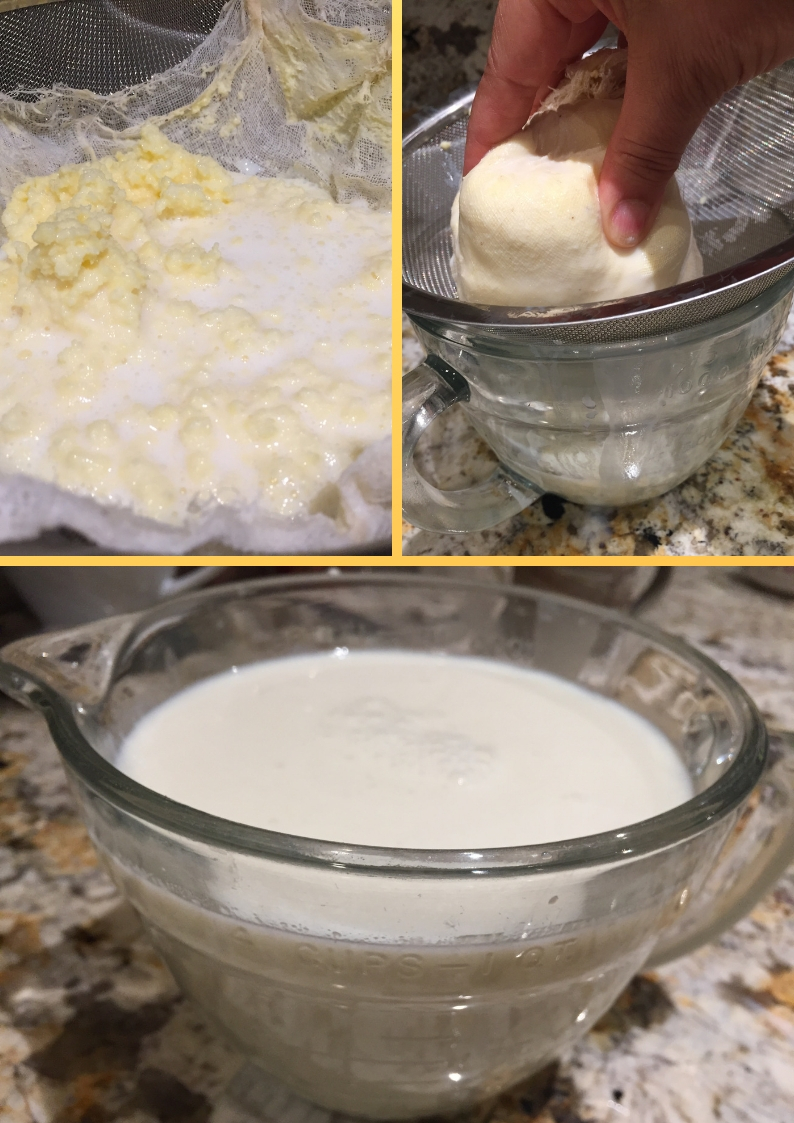
- Next, line a fine-mesh sieve with cheesecloth. Strain butter mixture through sieve into a bowl. Pull cheesecloth tightly over butter and form into a ball. Squeeze to drain any excess buttermilk; reserve buttermilk in a glass container and place in the refrigerator to use in other recipes.
- Transfer butter to a clean bowl and knead, adding a few tablespoons of ice water at a time. Drain water off butter as it becomes cloudy; repeat 3–4 times (the water you drain off should become clearer each time). Continue to knead until no liquid remains. Transfer butter to an airtight container or roll into parchment-wrapped logs.
- Repeat steps 1-5 to make cultured butter with the remaining batch of cultured cream.
Note: After trying the food processor and hand blender methods, I do prefer the hand blender method since I had more control. Use the method that works best for you.
Cooking cultured butter into cultured ghee
- Preheat your 6-quart heavy bottom pot until bottom of pot is warm.
- Place fresh butter into the pot.
- Place your burner to the lowest possible setting and let the butter melt.
- Butter will begin to bubble and to separate. You will see foaming on the top and solids fall to the bottom. Let the foam disappear naturally, and this may take up to 50 minutes.
- Keep burner at the lowest setting and stir the pot occasionally in order to avoid sediment burning and to help the water evaporate.
- When most of the solids have settled to the bottom, stop stirring from the bottom up. Let the milk fat solids rest at the bottom.
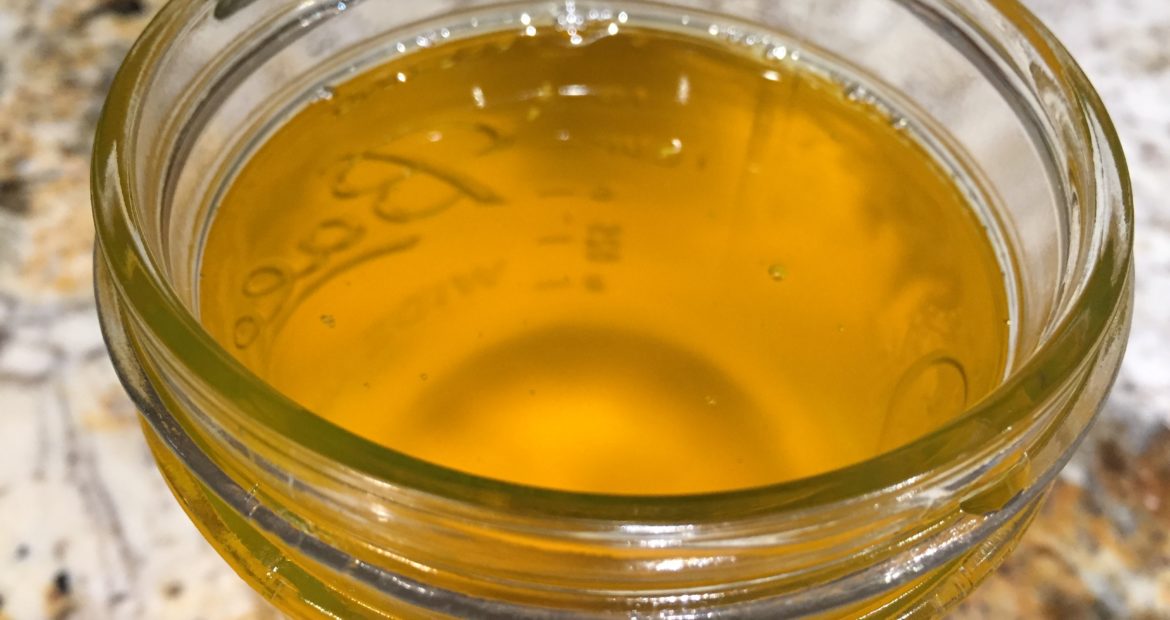
- The ghee is ready when the butter oil is translucent, amber in color, and the solids you see on the bottom of the pan are consistent golden brown. You should be able to clearly see the bottom of the pan. Watch carefully so that you do not burn the sediments and the ghee.
Straining the cultured ghee
- Fold cheesecloth into layers and place it in a metal strainer on top of a glass or ceramic bowl.
- Using a metal ladle, carefully ladle the hot ghee through the cheesecloth.
- Discard the strained solids*.
- Let the ghee cool for a few minutes.
- Pour the ghee into glass jars. Let ghee cool completely. It may turn semi-solid.
- Put the lids on only when the jars have cooled to room temperature to avoid condensation falling in the ghee which will make the ghee turn rancid.
Storing cultured ghee
- Store jars in a dry and dark space such as a cabinet.
- In order to keep your large container of ghee free from contaminants, place smaller portions, about ½ cup, into a smaller metal or glass container with a lid for daily use. Make sure to always use a clean spoon.
- Ghee has a long shelf life at room temperature, generally weeks or months, and even years. Do not refrigerate your ghee since moisture will contaminate it.
*If you wish to re-use the cheese cloth, soak it in boiling hot water with soap; hand-wash while the soapy water is still warm. Repeat until all the oil has washed out of the cheese cloth.
Photos of making cultured cream:
 _________
 _________
Photos of making cultured butter with food processor:

Photos of making cultured butter with hand blender:
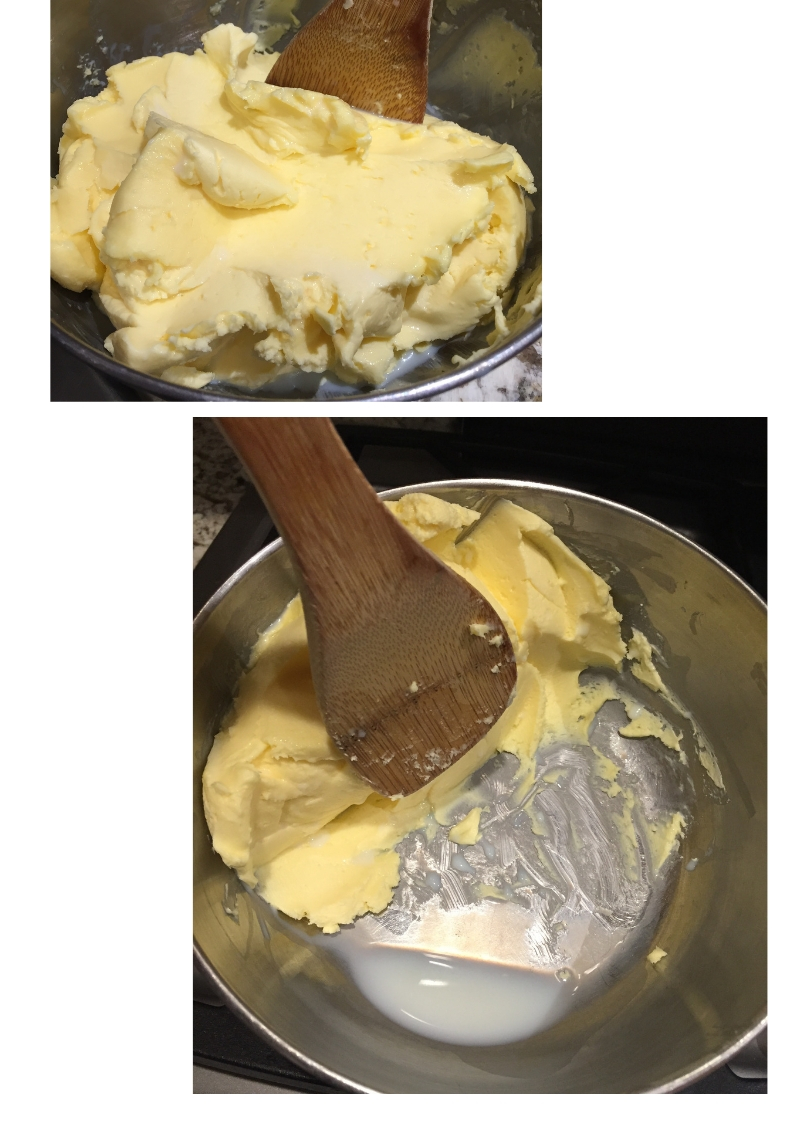
Photos of making cultured ghee:


Comparison of cultured ghee and regular ghee

Left side is cultured ghee. Right side is regular ghee.
Go to my blog Ghee The Ayurvedic Nectar to learn more about the benefits of ghee.
References:
(1) What is Sattvic? – Definition from Yogapedia. (n.d.). Retrieved from https://www.yogapedia.com/definition/7770/sattvic
(2) Why do you make your ghee on the full or waxing moons? (2011, September 23). Retrieved from https://www.ancientorganics.com/faqs/why-do-you-make-your-ghee-on-the-full-or-waxing-moons/
(3) THE A2 DIFFERENCE | Snowville Creamery, LLC | United States. (n.d.). Retrieved from https://www.snowvillecreamery.com/the-a2-difference
(4) Pal, S., Woodford, K., Kukuljan, S., & Ho, S. (2015, August 31). Milk Intolerance, Beta-Casein and Lactose. Retrieved from https://www.ncbi.nlm.nih.gov/pmc/articles/PMC4586534/
(5) A1 Versus A2 Milk – Does it Matter? (2017, December 08). Retrieved from https://food.ndtv.com/food-drinks/a1-versus-a2-milk-does-it-matter-1414225